Overview
Dabbled with truck stations and vehicle automation but never really could get it to work predictably? What if you knew exactly how to set them up so they run reliably, with that knowledge exactly how far could you push them as a transport mechanic?
- 129 x Truck Station
- 10 x Tractors
- 16 x Truck
- 4 x Explorer
- 12 x Cyber Wagon
- 107 x Factory Cart
Several different concepts were explored in this playthrough with varying results. Ultimately the key things that were identified as issues were:
- When you are in the vicinity of automated vehicles it's possible they will get stuck on objects
- Leaving the area will “fix” the issue as the vehicles simple go from node to node when you are not in their render distance
- The term “node” in this context refers to the vehicle automation markers
- For vehicles that use a fuel source (factory carts don't) they can run out of fuel while stuck and require manual intervention
- Factory carts will simply appear fallen over on their side
- Leaving the area will “fix” the issue as the vehicles simple go from node to node when you are not in their render distance
- The more vehicles used the more of a performance impact they have
- Performance impact means dropped FPS
- This is very similar to vertical factories where lots of calculations are performed, even though you can't see the objects on floors above and below you they are still calculated
- You will most likely not notice much of a difference when using under 30 vehicles in an area, however it depends on how dense the area is
- When multiple vehicles use a truck station, if more than one vehicle passes through the station at the same time(ish) then only one vehicle will have it's inventory loaded/unloaded
- You can drive a vehicle manually faster than when it is automated
- It's not a significant speed difference but can be annoying when recording a path using multiple vehicles, you can catch up with the vehicle in front
Some useful mechanics identified were:
- Factory carts don't use a fuel source and make transporting materials between locations very efficient as you don't need to provide a fuel to the truck station fuel bays
- Factory carts will transport one stack of resources
- This allows you to use multiple carts to distribute the same resource to multiple locations from the one truck station
- Normally other vehicles have a 24/25/48 slot inventory and hence can result in the majority of the loading truck station inventory being taken
- In short distances where a recipe requires a small amount p/m, this is a very effective mechanism
- Over longer distances or higher p/m requirements, multiple carts are required and this start to have a negative effect
- This allows you to use multiple carts to distribute the same resource to multiple locations from the one truck station
- The hit box of the truck station to trigger a load/unload operation can be activated from below the truck station
- You need to remove foundations after placing the truck station in the load/unload area
- The vehicle height requires the vehicle to go up a ramp to reach the hit box
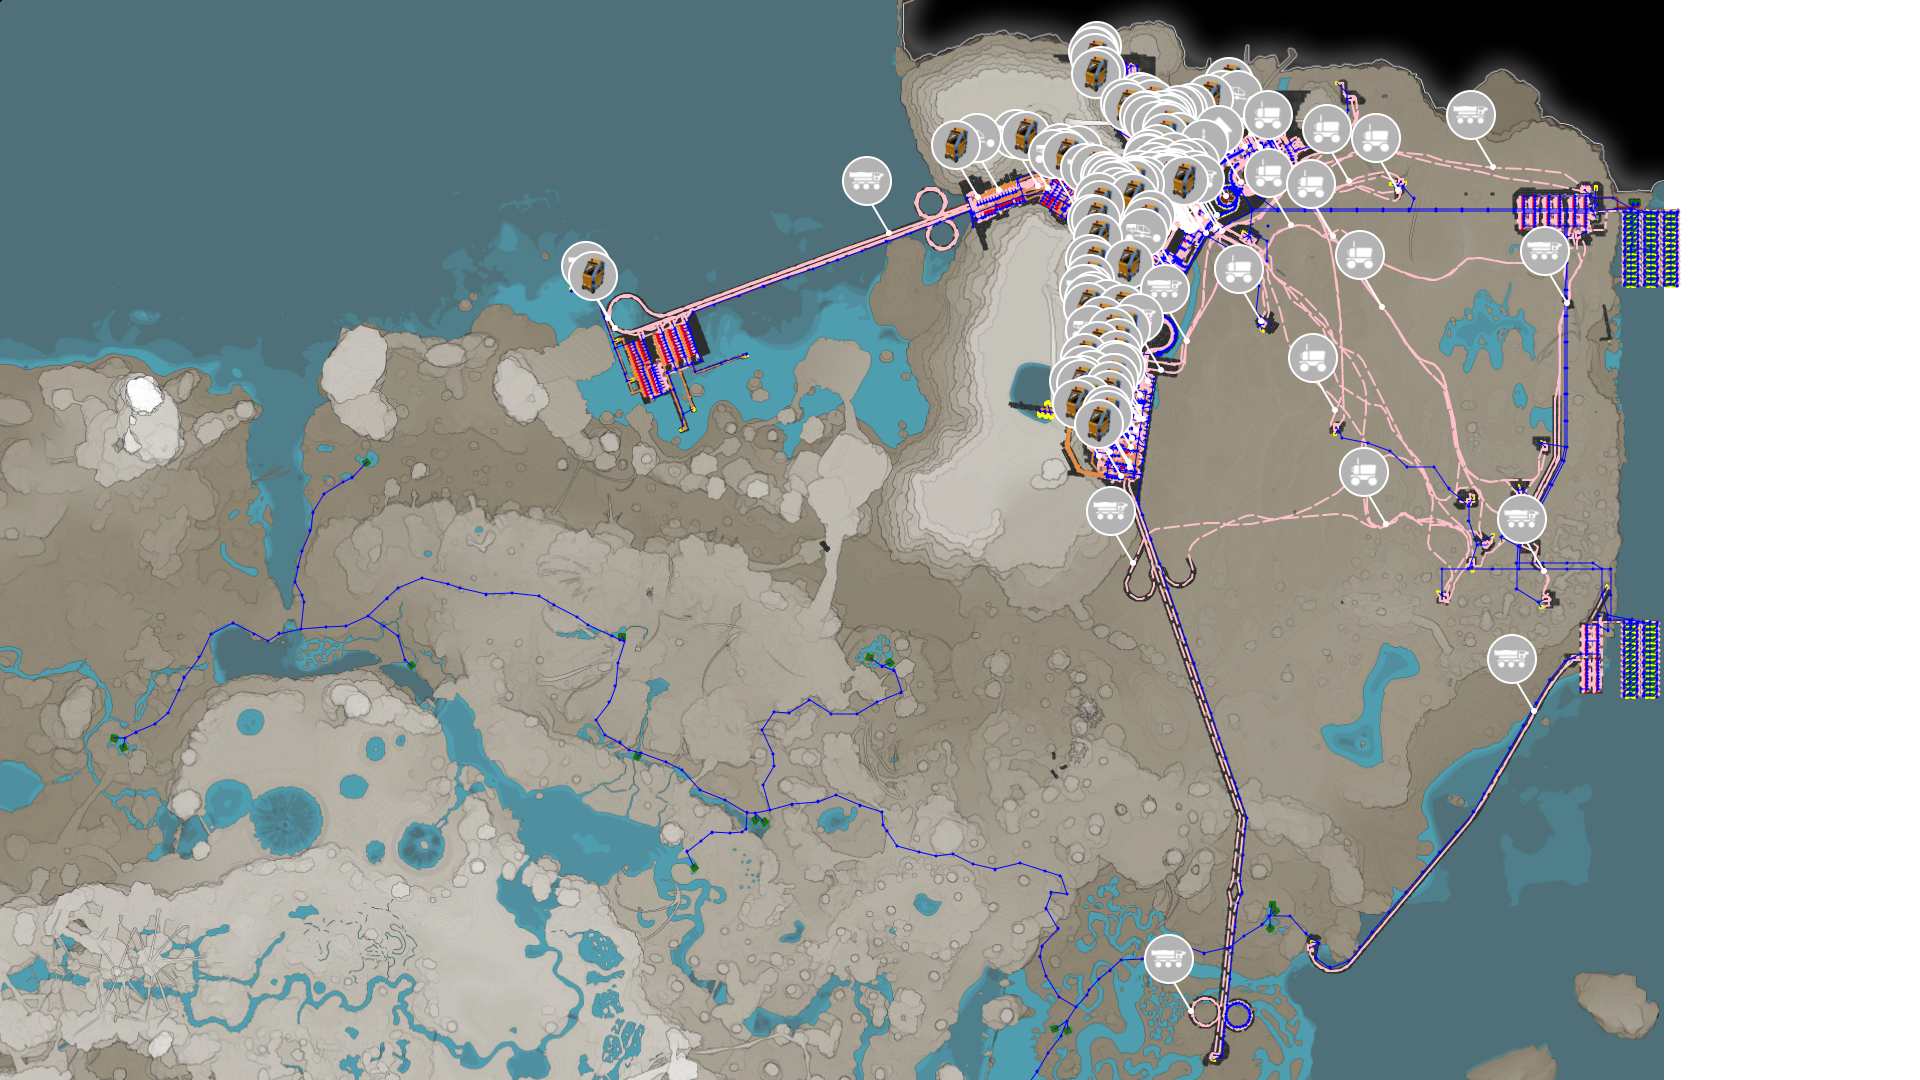
Vehicle automation aside, some other features of this playthrough are:
- Space Elevator automated before unlocking Tier 3/4
- Central storage with overflow before unlocking Tier 5/6
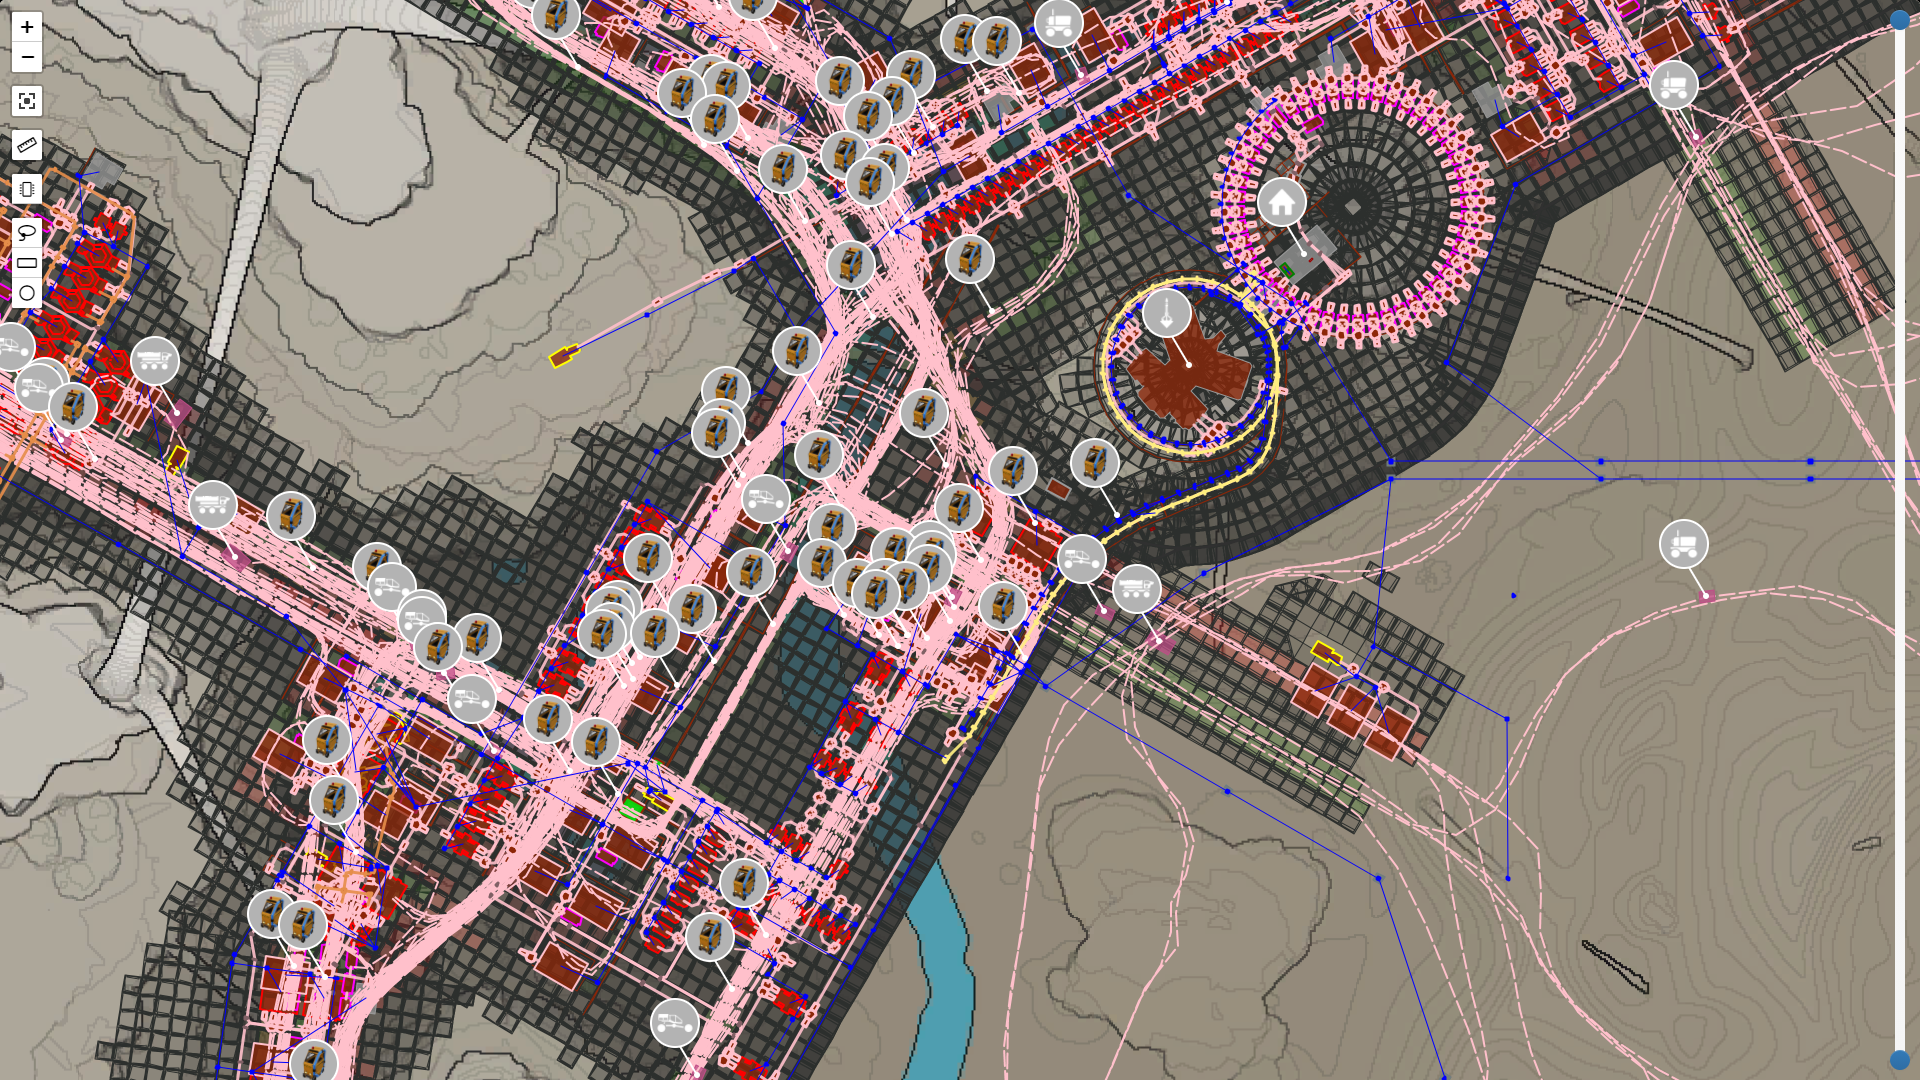
- Spiraling ramps to move vehicles vertically, similar concept to a railway corkscrew
- Compacted Coal and Geothermal Generators are the only power sources used
Fun Fact: This is the first playthrough where I decided that the Hub will only be moved one time after it's initial temporary location. I also only placed the Space Elevator once. This is a principal that I will try to employ in all future playthroughs.
Save File